


Installing a bathtub is a difficult task that amateurs should not take on. But if you’ve done construction work and plumbing before, this could be a do-it-yourself project you feel confident taking on. When renovating your bathroom, installing a bathtub may seem like a difficult and complex operation, but once you break it down, it’s simply a series of easy activities that appear tough at first.
This guide offers an overview of the work if you’re searching for a place to start. It is important to call a plumber if, at any time during the procedure, you are unclear about what to do. They may make sure the bathtub complies with codes and install it for you. Instead of feeling overwhelmed, learn how to build a bathtub during your next bathroom makeover by following along with this lesson. Follow these step-by-step instructions to install a bathtub in your bathroom instead of becoming overwhelmed.
How To Install A Bathtub? 8 Essential Steps
Choose The Right New Bathtub
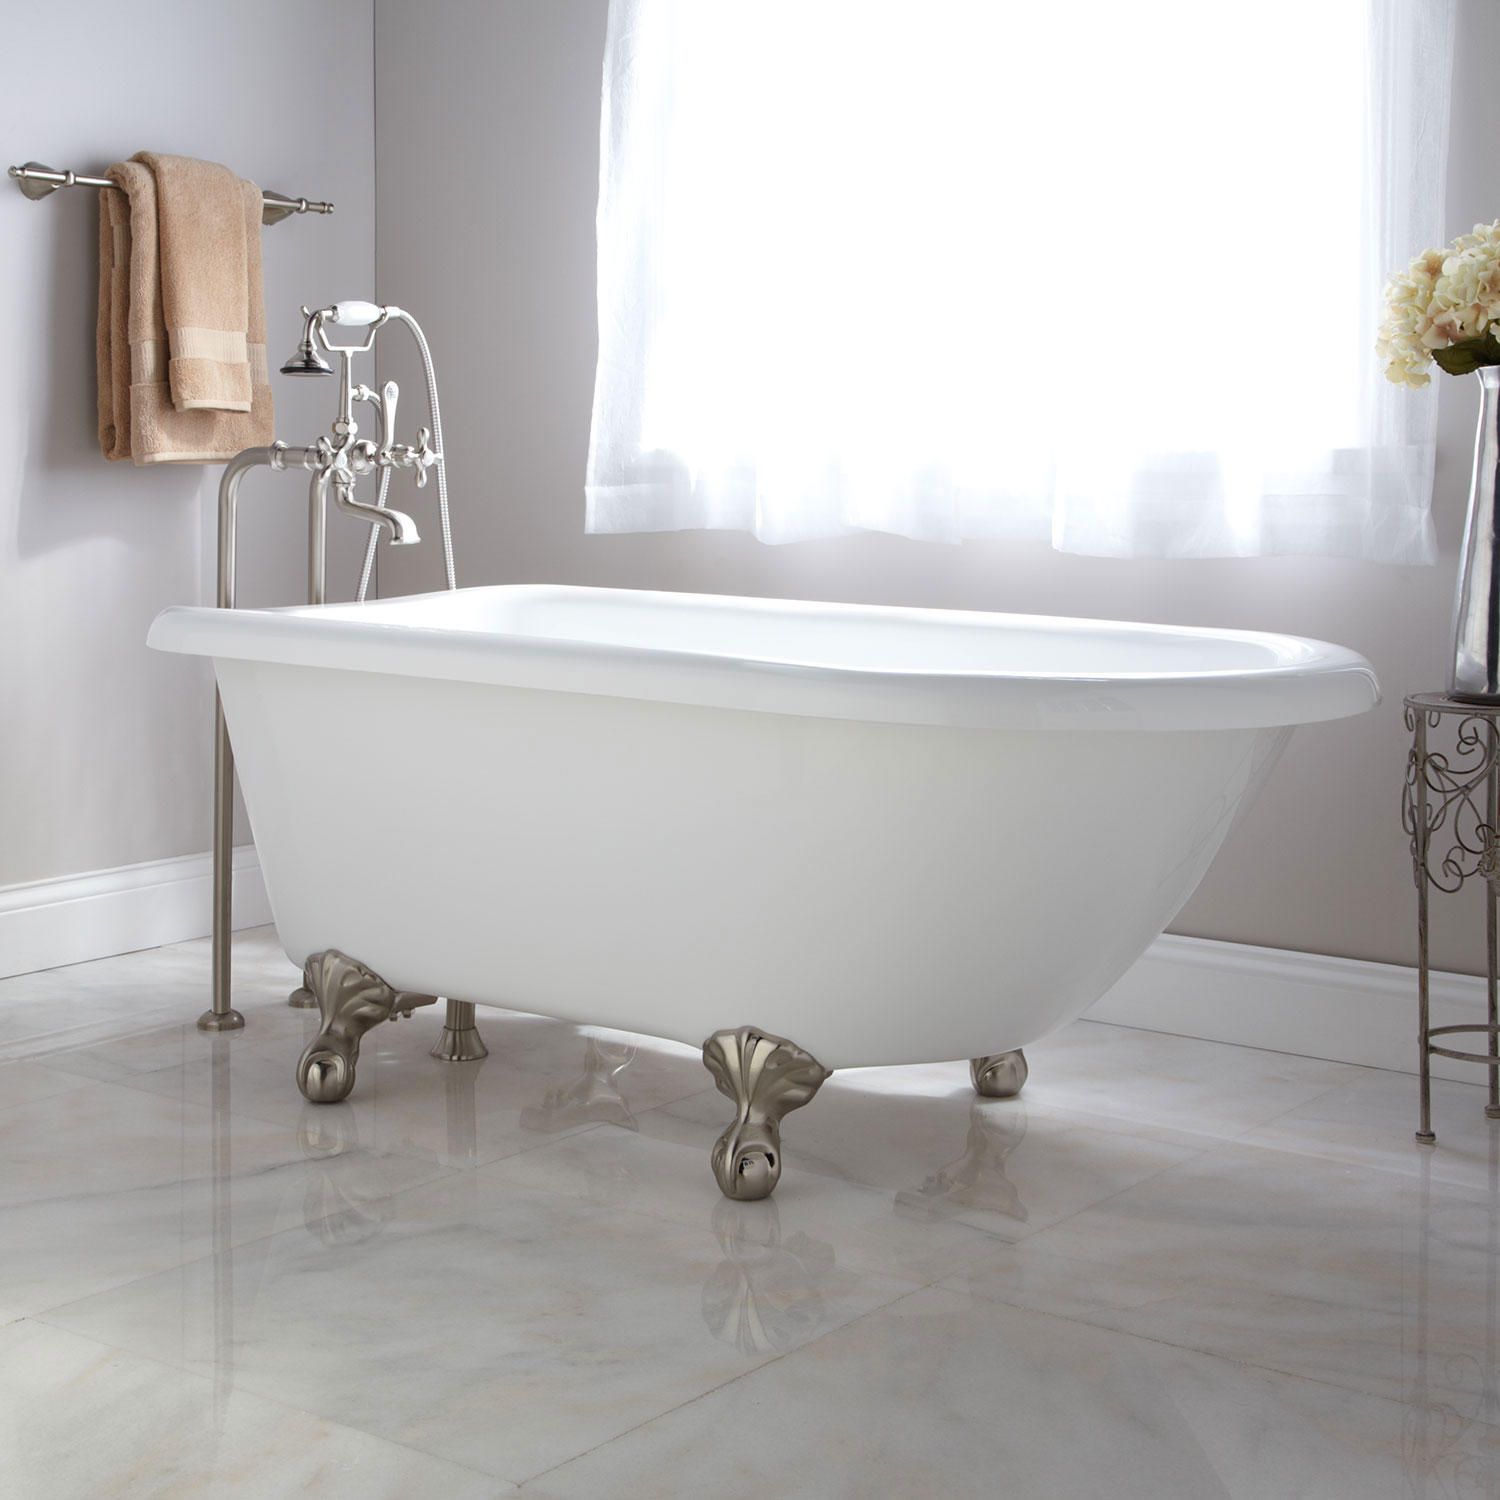
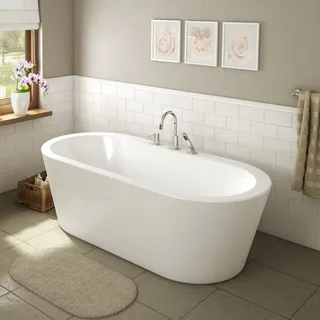
It’s advisable to select your new tub before continuing since we already said that different tub types can need different installation guidelines. This provides you with a preview of what to expect during new bathtub installation. Select from an assortment of bathtubs that complement your bathroom’s design. Alcove, drop-in, and freestanding bathtub designs are popular.
Check Your Plumbing
Verify the condition of your supply, drain, and shutdown valves before starting the new bathtub installation procedure. New pipes need to be installed if you see any discoloration, stains, dimpling, pimples, or flaking, which might be the result of corrosion.
Cut Off The Water
Turning off the water at the main line should always come first while working in a bathroom. After turning it off, you may empty any remaining water from the pipes by turning on the shower or bathtub faucet.
Take Out The Outdated Bathtub
Remove the handle, drain cover, shower head, and tub spout first. To remove it from the water lines, a screwdriver will most likely be required. To take out some of the parts, you might also require an Allen wrench. Make sure to handle the faucet and any attachments carefully when you remove them if you intend to reuse them. Putting all the pieces in a bag or box will also assist in keeping them organized and prevent misplacing during your refurbishment. Up close, the old tub surround is hacked through with a reciprocating saw to be removed.
We discovered that using a reciprocating saw to cut the corners of the old acrylic bathtub/shower combination we were removing was the most convenient method. Subsequently, you possess an object to seize and tear every fragment off. Cutting through the old tub surround using a reciprocating saw to remove it.
But take caution not to use the saw too close to any water lines. Being required to repair a water line in addition to your new bathtub is the last thing you want to have to do. The shower tile and backer board must be completely removed when removing a bathtub with a tiled shower surround since they cannot be utilized with a new bathtub.
Install Plumbing
A hardware store sells a tub drain kit that includes all the plumbing parts you’ll need for your new tub. After installing the new tub’s plumbing according to the kit’s instructions, measure the area to ensure that the tub’s plumbing matches the bathroom’s plumbing. If not, now is the time to make the required changes.
Install The Bathtub
It is advisable to have assistance with this step as bathtubs are heavy and you will need to line the tub up precisely. Use a bubble level instead of gauging the tub’s levelness since once it’s in place, it must be exactly level. Since many tubs are made with a sloping bottom, place the level on the top edge of the tub rather than the bottom on the interior. Use the pre-drilled holes in the upper flange that are included in most bathtubs, but be careful not to overtighten the screws.
Hook up The Plumbing
The bathtub has to be connected to your plumbing system after it has been installed. Install the overflow pipe, drain flange, and shoe fitting beneath the tub and drain pipe in order of installation. You will receive detailed installation instructions with your tub plumbing kit.
Put In Place The Bathtub Surround
A bathtub surround may give your new bathtub a more polished appearance and shield the surrounding walls from water damage. To ensure that the glue can hold the surround firmly when you install one, make sure the wall is thoroughly clean and dry. Next, determine the surround’s measurements and write the same information on the wall above the tub. Adhere the surround adhesive to the wall by following the instructions included in the product. To activate the adhesive, press the surround against the wall on top of it, remove it away for roughly three minutes, and then press the surround against the wall once more. Although this is the most typical technique to apply an adhesive, you should still refer to the package directions in case there are any additional procedures.
To get rid of any extra glue that may have adhered to the surround’s sides, use mineral spirits. After that, secure the surround panels in place using masking tape while the adhesive dries. Seal all of the gaps between the surround panels and the top of the bathtub, as well as any fractures between them, using silicone.
The technique will be quite similar if you want to put tile over your bathtub rather than a bathtub surround. To ensure that the tiles are uniformly spaced, you will need to measure, cut, and install each tile separately using tile spacers. The gaps between the tiles will subsequently be filled up with grout.